How to digitise handwritten recipe cards before they fade
A step-by-step method for photographing, transcribing and backing up family recipe cards — including how to handle vague measurements and unreadable handwriting.
Recipe cards are the most fragile thing in most kitchens. They're paper, they live near steam and oil, they're written in pencil, and there is exactly one copy. Every year a few more become unreadable, and a handful get lost entirely in a house move.
If there's a box of your grandmother's cards in a drawer, this is the weekend job that's genuinely worth doing. Here's how to do it properly in about two hours.
Photograph first, transcribe later
Do the photography as one uninterrupted pass. Don't stop to type anything up — if you interleave the two you'll get bored around card nine and stop.
Setup that makes a real difference:
- Daylight, indirect. Next to a window, not in direct sun. Overhead kitchen lights cast your own shadow across the card.
- Flat and square. Put the card on a plain surface, hold the phone directly above rather than at an angle. A skewed photo is much harder for text recognition to read.
- Fill the frame. Get close enough that the card is most of the shot.
- Both sides. People wrote on the back constantly. Check every card.
- Include the whole card, edges and all. The stains and the handwriting are part of what you're preserving.
Do the whole box this way. Then back the photos up somewhere off your phone before you go any further — that's the irreplaceable part now safe.
Then get the words out
A photo protects the recipe from the paper degrading. It doesn't make it searchable, scalable, or shoppable. For that you need the text.
Three routes, depending on how much you enjoy typing:
- Text recognition in a recipe app. Point it at the photo and it pulls out ingredients and steps. Handwriting is harder than print — expect to correct things, particularly numbers and fractions.
- Type it manually. Slow but flawless, and honestly quite a nice way to spend an evening with a box of family recipes.
- Divide the work. Split the box between siblings and cousins. It's a much better group project than it sounds.
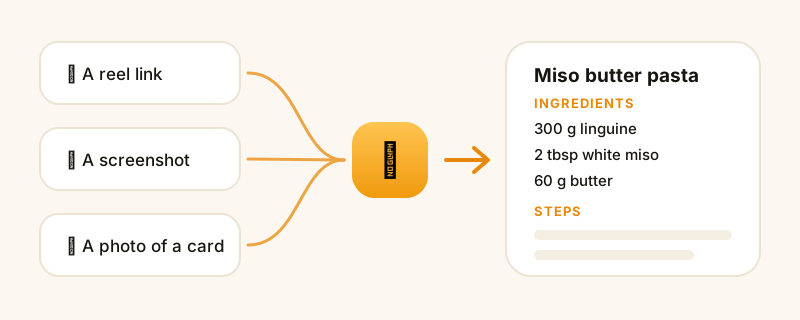
CookinBuddy handles the photo route — snap the card, and it comes back as a structured recipe you can then correct and annotate. It's free on iPhone.
Handling the bits that don't translate
Old recipe cards were written by people who already knew how to cook. You'll hit these:
"A knob of butter", "a teacup of flour", "butter the size of an egg." Don't try to make these precise. Record them as written, then add your own note underneath once you've cooked it: "a knob ≈ 30 g". The original wording is part of the recipe's character; your note is what makes it repeatable.
No oven temperature, or a gas mark. Gas mark 4 is roughly 180°C / 350°F, and each mark up is about 15°C. If there's no temperature at all, it's probably a "moderate oven" — start at 180°C and write down what actually worked.
Missing steps. Cards frequently list ingredients and then say something like "bake till done". If someone in the family still cooks it, ring them and write down what they say while they're on the phone. This is the single most valuable half hour in the whole project, and it has an expiry date.
Unreadable words. Photograph it, transcribe what you can, and mark the gap clearly as a gap — "2 tbsp [illegible]" — rather than guessing. A guess quietly becomes canon.
Preserve the object, not just the data
A transcription loses the handwriting, and the handwriting is half the point. Keep both: the typed version for cooking, and the photograph attached to it so you can still see the card.
For the physical cards afterwards: a plastic sleeve or a photo box, somewhere out of the kitchen. Steam and oil are what damaged them in the first place.
Then actually cook them
The point of digitising isn't archiving, it's use. Once the recipes are in a searchable collection, they turn up when you're deciding what to cook instead of sitting in a drawer being sentimental.
Put them in a folder you'll open — we'd suggest a "Keepers" folder — and cook one this month. Add your notes when you do. In two years your version will have your handwriting on it too, which is roughly how this worked in the first place.
A short checklist
- Photograph every card, both sides, in indirect daylight.
- Back the photos up off your phone.
- Convert to text, correcting numbers and fractions carefully.
- Ring the relative who still cooks it and fill in the missing steps.
- Keep the photo attached to the typed recipe.
- Store the physical cards outside the kitchen.
- Cook one, and write down what you changed.